
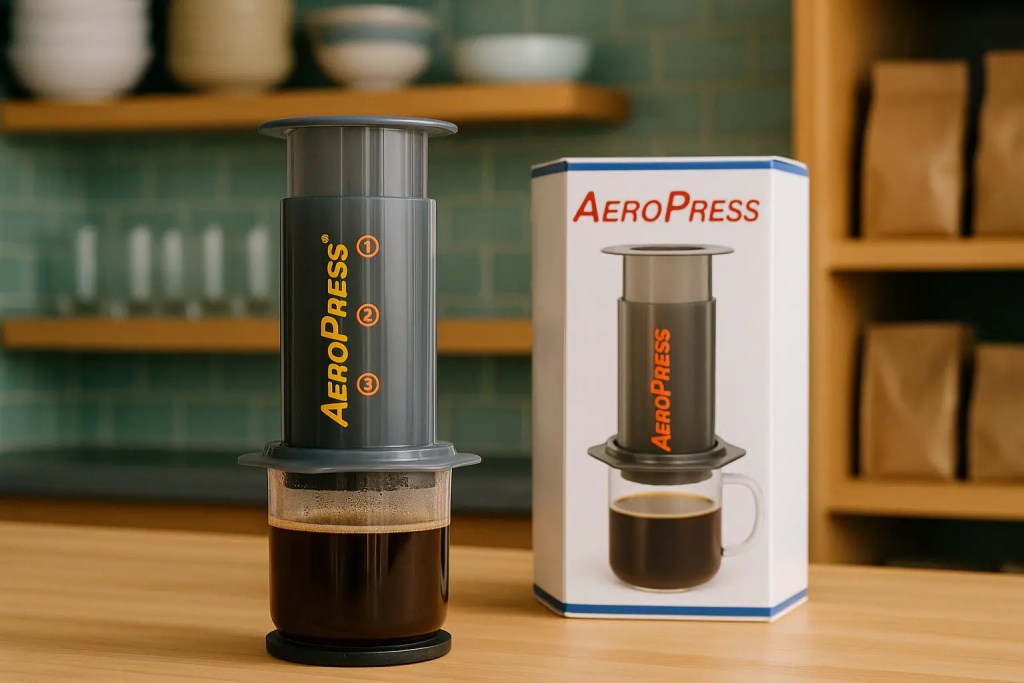
Meet the coffee maker that’s become a cult favorite among travelers, home brewers, and even baristas: the Aeropress. Lightweight, durable, and versatile, this wonderful device is your secret weapon for brewing great coffee virtually anywhere. Forget complex machines or delicate glass – let’s dive into the secrets that make the Aeropress a true game-changer.
What Makes the Aeropress a Coffee Brewing Phenomenon?
Its popularity isn’t just hype. The Aeropress is loved for several reasons:
Unique Pressure-Assisted Brewing
It cleverly combines immersion (like a French Press) with gentle air pressure (from plunging). This speeds up extraction, resulting in a smooth, rich flavor profile often noted for its lower acidity and bitterness compared to other methods.
Built for Adventure: Portable & Durable
Made from durable, BPA-free plastic, the Aeropress is lightweight, compact, and nearly indestructible. Toss it in your bag for camping, travel, or the office – it’s built to go wherever you need great coffee.
Can be a good investment if you are both a coffee lover and a traveler
Coffee in Minutes: Speed & Simplicity
From start to finish, you can brew a fantastic cup in just a couple of minutes. Its straightforward design makes it relatively easy to learn and use.
Swiss Army Knife of Coffee: Unmatched Versatility
Want an espresso-style concentrate for a latte? A clean, filter-style cup? Even a quick cold brew? The Aeropress can do it all, depending on your technique highlights its flexibility.
The Easy Cleanup
Extremely easy! Just eject the “puck” of used grounds directly into the compost or trash, rinse the plunger seal, and you’re done. It takes less than a minute.
Know Your Gear: Anatomy of the Aeropress
Understanding the parts helps master the process:
Chamber, Plunger & Seal
The main brewing chamber holds the coffee and water. The plunger, with its rubber seal, fits inside to create the air pressure needed for extraction.
Filter Cap & Filter Options
This cap twists onto the bottom of the chamber, holding the filter in place. You can use:
- Paper Micro-Filters: Provide an exceptionally clean cup by trapping most oils and sediment. (Comes standard)
- Metal Filters: Reusable options that allow more oils and some fine sediment through, resulting in a fuller-bodied cup. (Sold separately)
The Handy Extras
Most Aeropress kits include a stirrer paddle (designed not to damage the filter), a coffee scoop (about 14-15g), and a funnel (useful for loading grounds or brewing into narrow mugs).
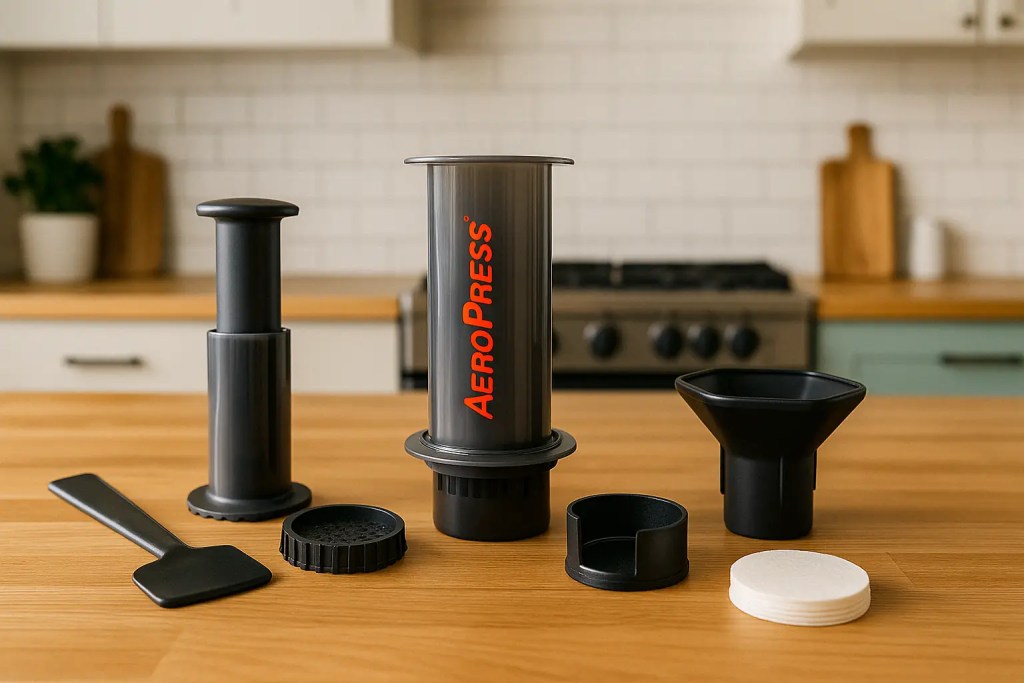
Aeropress: a simple brewer with only a few parts
To Flip or Not To Flip: Standard vs. Inverted Methods
Two primary brewing orientations dominate the Aeropress world:
The Standard Method: Quick & Direct
- Place a filter in the cap, rinse it (optional but recommended), and lock the cap onto the chamber.
- Stand the chamber directly on a sturdy mug.
- Add your ground coffee.
- Add hot water, stir if desired.
- Insert the plunger at a slight angle, then straighten to create a seal.
- Press gently and steadily.
- Pros: Simpler, arguably safer setup.
- Cons: Some water might drip through the filter before you plunge, potentially leading to slightly weaker or uneven extraction if not managed well.
The Inverted Method: Total Control
- Insert the plunger into the chamber by about half an inch.
- Stand the Aeropress upside down, resting on the plunger.
- Add ground coffee, then hot water. Stir if desired.
- Let it steep for your desired time (this method gives full immersion control).
- Secure the rinsed filter cap on top.
- Carefully and quickly flip the entire assembly onto your sturdy mug.
- Press gently and steadily.
- Pros: Prevents any dripping before pressing, allows for precise control over the full immersion time.
- Cons: Requires the “flip,” which needs a bit of practice to avoid spills.
Which Way is “Right”?
Neither! Both methods produce excellent coffee. Many enthusiasts prefer the control of the inverted method, while others stick to the simplicity of the standard method. Try both and see what works best for you!
Unlock Amazing Flavor: Key Aeropress Secrets
Ready to brew like a pro? Keep these “secrets” in mind:
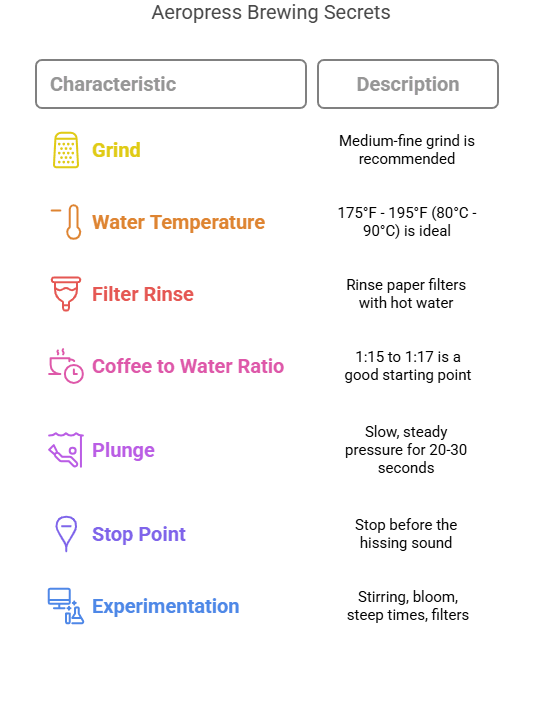
Secret #1: Dial In Your Grind
While recipes vary wildly, start with a medium-fine grind (think coarse sand). Taste your brew:
- Sour or weak? Grind finer next time.
- Bitter or hard to press? Grind coarser next time.
- For “espresso-style,” go finer (like table salt). For metal filters, you might go slightly coarser than with paper.
Secret #2: Master Water Temperature
Surprisingly, cooler water often works wonders with the Aeropress due to the pressure assisting extraction.
- Recommended Range: Start between 175°F – 195°F (80°C – 90°C). Many, including inventor Alan Adler, prefer the lower end (around 175°F/80°C) for ultimate smoothness and low acidity, especially with darker roasts.
- Light Roasts: May benefit from the higher end (up to 205°F/96°C) to extract delicate flavors.
- Use a thermometer or variable temp kettle for control!
Secret #3: Rinse That Filter!
If using paper filters, always rinse them with hot water before adding coffee grounds. This removes any paper taste and helps the filter seal better against the cap.
Secret #4: Weigh It Out
Consistency is crucial. Use a digital scale to measure your coffee beans and water (in grams is easiest). A common starting ratio for filter-style coffee is 1:15 to 1:17 (e.g., 15g coffee to 225-255g water). Adjust based on desired strength.
Secret #5: The Gentle Plunge
Don’t force it! Apply slow, steady pressure. Aim for the plunge itself to take around 20-30 seconds.
Secret #6: Stop Before the Hiss!
This is a vital tip! As you reach the end of the plunge, you’ll hear a hissing sound as air starts being pushed through the grounds. Stop pressing just before or right as you hear the hiss. Pushing this air through can add bitterness to your cup.
Secret #7: Experiment Relentlessly
The beauty of the Aeropress is its flexibility. Play around!
- Try stirring, swirling, or not agitating the grounds at all.
- Experiment with a “bloom” (adding a small amount of water first for 30 seconds).
- Vary your steep times (common range is 1-2 minutes).
- Try different filters (paper vs. metal).
Go Beyond: Tapping Into Aeropress Versatility
Once you nail the basics, explore further:
Crafting “Espresso-Style” Concentrate
Use a finer grind, less water (ratio around 1:4 to 1:7), hotter water (~205°F/96°C), stir briefly, and press firmly and quickly (~15-25 seconds total brew time). Perfect base for homemade lattes or Americanos. (Note: It’s not true espresso due to lower pressure).
Brewing Clean, Filter-Style Cups
Use a medium-fine grind, a standard ratio (like 1:16), your preferred temperature and method, and enjoy a cup reminiscent of pour over but often smoother.
Making Quick Aeropress Cold Brew
Use a coarser grind, room temperature water, steep for a longer time (inverted method works well here, steep for hours or even overnight in the fridge inside the chamber), then press.
Why the Aeropress Belongs in Your Coffee Kit
It’s simple: the Aeropress delivers incredible value. It’s affordable, virtually indestructible, unbelievably portable, brews delicious coffee incredibly fast, offers amazing versatility, and cleans up in seconds. It empowers you to make barista-quality coffee anywhere, anytime.
Ready to join the Aeropress fan club? Grab one and start experimenting – your perfect cup awaits!

Leave a comment